


Plan Ahead
Since you only have a short time to shoot during golden hour photography time, know your location ahead of time. Get there early, and set up your Nikon camera from Beachcamera.com before golden hour starts. That may mean setting up your camera in the dark, first thing in the morning. It’ll be worth it when you snap an epic golden hour sunrise shot.
Keep Shooting
Golden hour begins pretty suddenly, and once it starts, the light will be constantly changing. Keep snapping that shutter on your camera for the entire hour, as the light will change dramatically during that time.
Use a Tripod
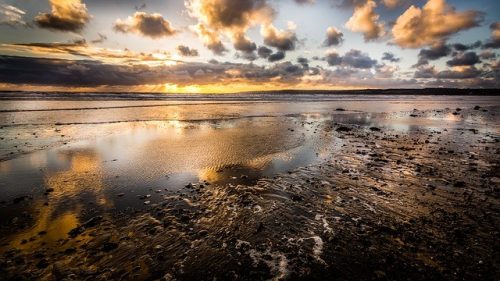
A landscape captured during the golden hour photography time has a wonderful warmth to it that’s not possible to photograph at any other time. Since you’re likely trying to get as much of your scene in focus as possible, you’ll be using a large depth of field. Use a tripod so you can slow down your shutter speed while keeping your image sharp.

Golden Hour Photography Settings Set Your White Balance
If your camera is set to Auto White Balance, your images may end up far more blue than you want them. Even when shooting in RAW, it’s a good idea to choose a manual setting for your White Balance. A good starting point is setting it to “shade” or “cloudy” to preserve those gorgeous golden hues shot during your magic hour photography shoot.
Golden Hour Portrait
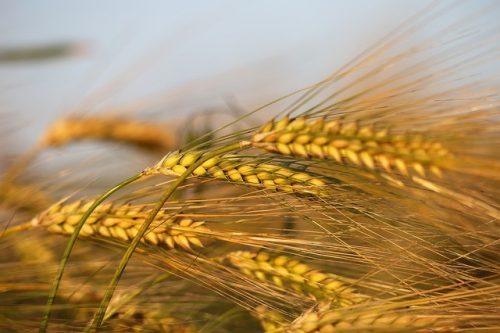
Use a wide aperture for golden hour portraits. Warm golden hour light is the most flattering natural light for portrait photography. The diffused light at golden hour gives the skin a soft look and your subject can face the sun without squinting. Shoot your subject with a shallow depth of field by choosing a larger aperture opening of f/5.6 or wider to create a lovely bokeh. Golden hour light is ideal for all types of photography, from portrait to landscape. It’s so idyllic, in fact, that some professional photographers will only book appointments during golden hour! Applying these techniques to your golden hour photography will help take your photos from good to great.