


You have a photo you want to use for your social media site, but there's something missing. It's close, but it's not quite perfect. How can you fix a blooper image? Is it possible? We have some helpful hints that can turn your photo blooper into magic. Often, the photos that we take when we're out with our friends capture the fun of the moment, but aren’t perfect. These tricks will take you a few steps closer to Photoshop mastery. You’ll be able to fix that family photo blooper where dad photobombed the kids? Or maybe you need to learn how to correct some weird lighting that made the color of the blooper image look off? With these tips that’s a possibility.
Remove objects from photos
The classic Photoshop trick used to be a chore, but is now made much easier with the Content-Aware Fill tool. Use the lasso tool to run a selection around your object and some of the immediate background of the blooper image. Then choose Edit, Fill and pick Content-Aware from the drop-down. Keep Color Adaptation ticked as well.
Remove blemishes from pictures
Content-Aware Fill isn’t the only super-smart tool in Photoshop’s collection. The Spot Healing Brush ‘rubs out’ small inconsistencies, marks and blemishes using the other information in the blooper image. Choose it from the toolbar and paint over the spots you want to get rid of.
Remove a color cast
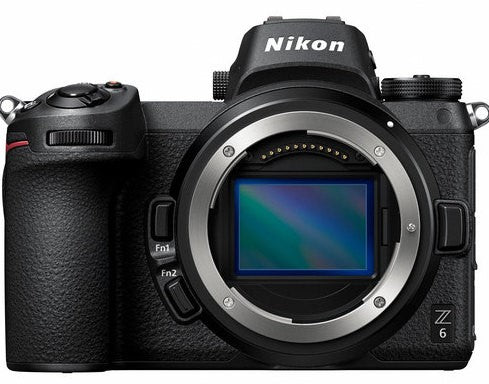
Photoshop can quickly fix those pictures taken with your Nikon Z-Series Camera from Beachcamera.com that have a strange color cast to them. Go to Image, Adjustments, Match Color and click the button marked Neutralize, and click OK.
Soften an image
Softening an image can be difficult, but here’s a quick shortcut when learning how to fix bad quality photo. First duplicate your current layer. Then go to Filter, Blur, Gaussian Blur and adjust the level so the details are just getting lost. Now all you have to do is adjust the opacity of the blurred layer. That opacity adjustment is done via the Layers dialog. Choose Layer then Layer Style then Blending options. Knock opacity from 100 percent to around 50 percent. This will give you a smart softening effect for your blooper image.
Bring people out of darkness
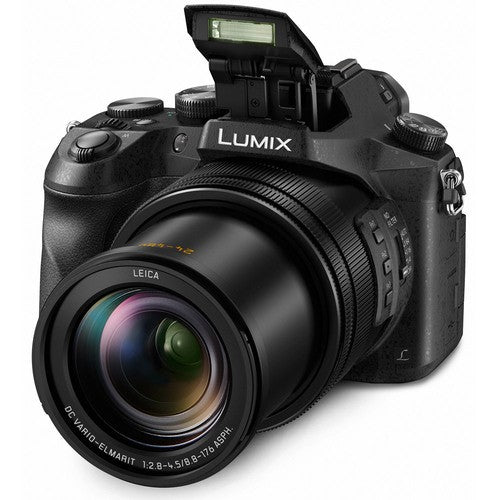
A common mistake that can cause a photo blooper is shooting people with a bright window or sunlight in the background with your Panasonic Digital Camera available with an instant rebate savings from Beachcamera.com. This puts the foreground faces completely in black shadow. To remedy this, click Image, Adjustments then Shadows/Highlights. To lighten only the darkest parts of a blooper image, use the top slider. You might want to boost the brightness as well.
Add a sepia, or other colored tint
The easiest way to get tints in your blooper image is to click Create new fill or adjustment layer in the Layers dialog and pick Black & White. Then tick the Tint box in the dialog box that pops up. It’s sepia by default but you can change this by picking another color in the adjacent box.

Quickly shift one color in an image
One way to shift specific colors in your photo blooper without any selections is via a Hue/Saturation adjustment layer. Go to Layer, then New Adjustment Layer and choose Hue/Saturation. Now click the finger and select the color on the screen that you want to alter on your image blooper. Now you can edit that color and only that color, by adjusting Hue, Saturation and Lightness.
Put one part of a picture in focus
If you open up an image and choose Filter, Blur Gallery and then Iris Blur, you can focus on one object in your photo blooper while blurring the rest. Click and drag the selection to change the focal point, and move the white handles to change the strength of the blur edges. Extra options for the blur can be accessed from the settings panel on the right-hand side.

Make photo colors pop
If a photo blooper seems drab and dreary, open something more vibrant. Then go back to the original picture and select Image, Adjustment and Match Color. Pick the image with the superior color palette as the source and your dreary photo blooper comes to life. It’s a fun way of getting your pictures to look more appealing. In the world of photography, making a mistake shouldn’t be the end. Use these quick tips to fix your bad quality photos.