


In the world of photography, the perfect moments don’t pause to wait for perfect lighting and in fact, sometimes the most amazing images are the ones captured in low lighting. Whether it’s simply taking a photo inside your home, capturing an event inside a theatre or some nighttime sightseeing, you can take great photos with limited light, it will just take a little more work. The right tools make low light photography much easier, and some shots are just impossible without them. We have a few tips to help you take the sharpest possible images in low light.
Shoot RAW
As long as you shoot in RAW, you can do wonders in editing. No matter if you use Lightroom or Photoshop ACR you can get amazing results. You can really brighten the photo a whole lot without losing quality. When shooting in low light allow your photos to look darker on the back of the camera than you normally would accept.
Aperture
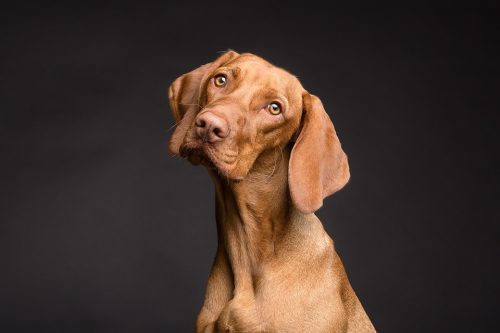
If you want to take a well exposed photo in low light, you need a lens from Beachcamera.com with a wide enough aperture to let in more light. Setting your lens to stop at f/1.8 actually lets in 4 times more light than f/3.5, which is a huge difference. Be careful about how wide your aperture is when photographing a large group, or you’ll end up with half of the people out of focus.

Shutter speed
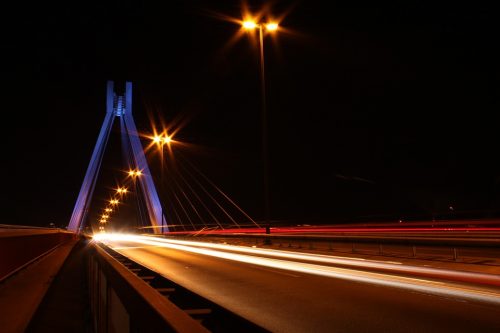
To allow you to choose the right shutter speed for your shot, use shutter priority mode. If you are trying to freeze action, try to keep it above 1/200. If you have a tripod and your subject is motionless or you want to blur the motion, you can use a much slower shutter speed. Using shutter priority will make sure the shutter speed stays at the level you need, while selecting the rest of the settings for you.
Prevent camera shake
Less light means slower shutter speeds. Slower shutter speeds mean camera shake. Keep the blur at bay simply by using a tripod from Beachcamera.com. While a tripod won’t combat blur from moving subjects, it will help prevent the entire image from blurring from camera shake. A tripod allows you to use slower shutter speeds than you could handheld and still get a sharp shot. To steady your shot even further, use a remote release or self-timer.
ISO
If you’re struggling to get the exposure you’re looking for just by changing the shutter speed and aperture, the best thing to do is to raise the ISO. Remember that doubling the ISO number doubles the amount of light that your camera can see.
Flash
In addition to adding light, using a flash properly can really enhance a scene and create some great moods. So don’t rule it out completely but use it sparingly, only when needed or for a specific purpose. If you want to use a flash, use a speed-light like the Nikon SB-700 AF Speedlight Flash and bounce the flash off a ceiling or wall for the most flattering light.
Shooting in low light doesn’t have to mean you accept that your images will be blurry. By using a number of available techniques and strategies you can ensure that your images are sharp, and in focus even in the darkest of environments.